Today, I am creating:
Remains of the Day style Art Journal
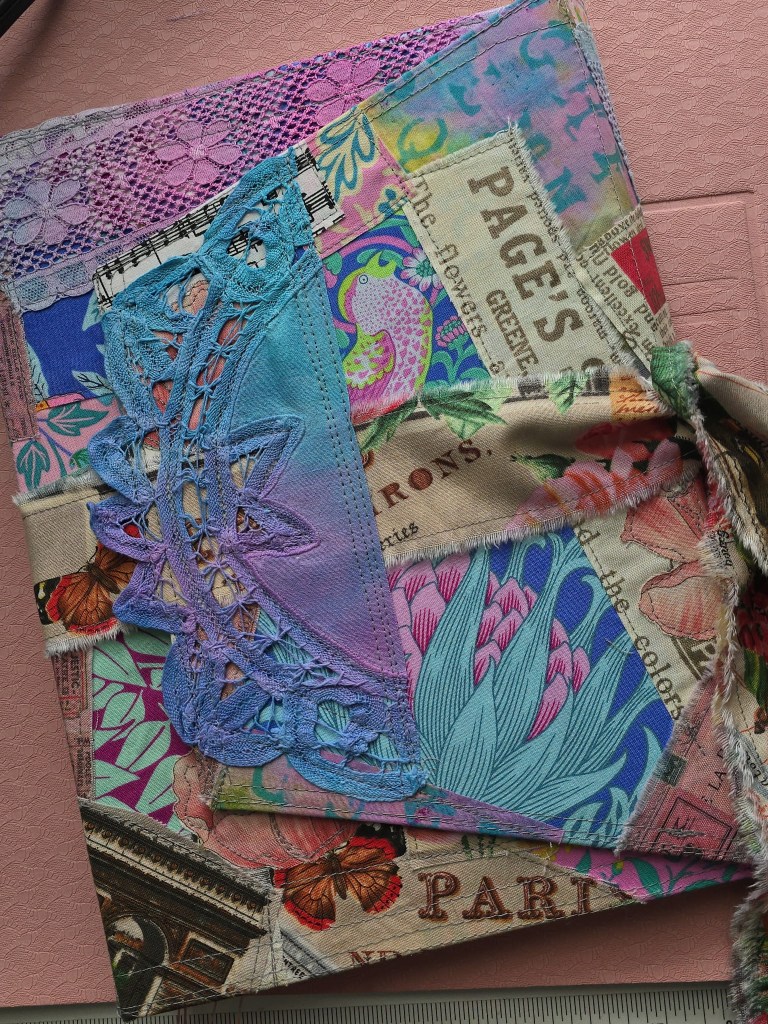
It is part memory book, part junk journal, and entirely unique. Here is how you can gather your bits and pieces and stitch your own daily companion together. The rule for a Remains of the Day journal is simple: there are no rules. Look for ordinary items that carry texture or memories.
Here is what is on my workspace today:
• Paper Scraps: Old book pages, brown tissue paper, vintage ledger sheets, and sewing pattern paper. Old map pages are particularly awesome, but scan them first and reprint them in case you want to use it again someday!!
• Fabric Pieces: Vintage Linens (I hand-dyed mine), ditsy floral trims, watercolor-painted cotton, and thin muslin-like fabrics. Try not to use any heavier fabrics like canvas where the spine creases will be.
• Basic Tools: Scissors, a glue stick, a roll of masking tape, and my trusty sewing machine.
• Threads: For machine or hand sewing, plus a heavy waxed linen thread for the binding.
Building the Foundation: We start by piecing together our journal cover like a loose, fluid puzzle. Instead of worrying about straight lines, think about blocks of color and texture. Lay down a piece of paper or fabric as your base. I used heavy watercolor paper. Use a glue stick or a dab of fabric glue to lightly tack down overlapping pieces. Mix torn edges with clean cuts to give the pages that beautiful, worn-down variety. Don’t worry about locking everything down flat with glue yet—the real magic happens next at the machine.
Firing Up the Sewing Machine! What truly defines a Remains of the Day journal is the stitching. Taking your layers over to the sewing machine completely changes the dynamic of the paper/fabrics. Let go of any desire for straight lines. Guide the paper through the presser foot and run messy, imperfect lines of thread right through the layers. Let the machine skip, pivot wildly, and leave long, dangling thread tails. If you accidentally stitch two pages together, embrace it. Tear them gently apart to add a frayed, heavy texture that gives the book its character.
Once the background layers and stitching are secure, it is time to build tiny, clustered focal points. Take three or four very small pieces of contrasting material—like a square of corrugated cardboard, a bit of vintage linen, and a snippet of lace—and layer them together. On top of these clusters, you can stamp a date, write a single meaningful word, or type out an affirmation like “trust your hands” or “live gently upon this earth.” Keep one side of a two-page spread slightly calmer so your eyes have a place to rest against the dense, beautiful machine-stitched texture of the other side.
You could also fussy-cut flowers, birds, or other motifs from printed fabric and use those to fill in any tiny gaps. Or, place them in spots where they will be most visible.
You can create your signatures (grouping of pages) outside of the journal cover, which allows you to sew and paint, etc without messing up the cover. I chose plain white pages for this particular journal because I am using it for a special project. Otherwise I probably would’ve spent weeks sewing, painting, stamping, embossing, stenciling…you understand!!
Once your pages are complete, sew them into your journal cover using a heavy waxed thread & the pamphlet stitch. I did a simple 3-hole attachment, but could have easily done a 5-hole binding. You could also just sew the papers down the centers straight onto the spine of your cover, with hand or machine stitching. (If you do this, use a longer stitch length on your machine so that your watercolor paper base isn’t perforated too closely.
The best part of this project is that it turns the act of journaling into an evolution. This book isn’t a pristine place where you have to worry about ruining the first page. It is already delightfully imperfect, messy, and alive. It is a home for your thoughts, daily doodles, or a simple record of the quiet days that are all too easily forgotten.
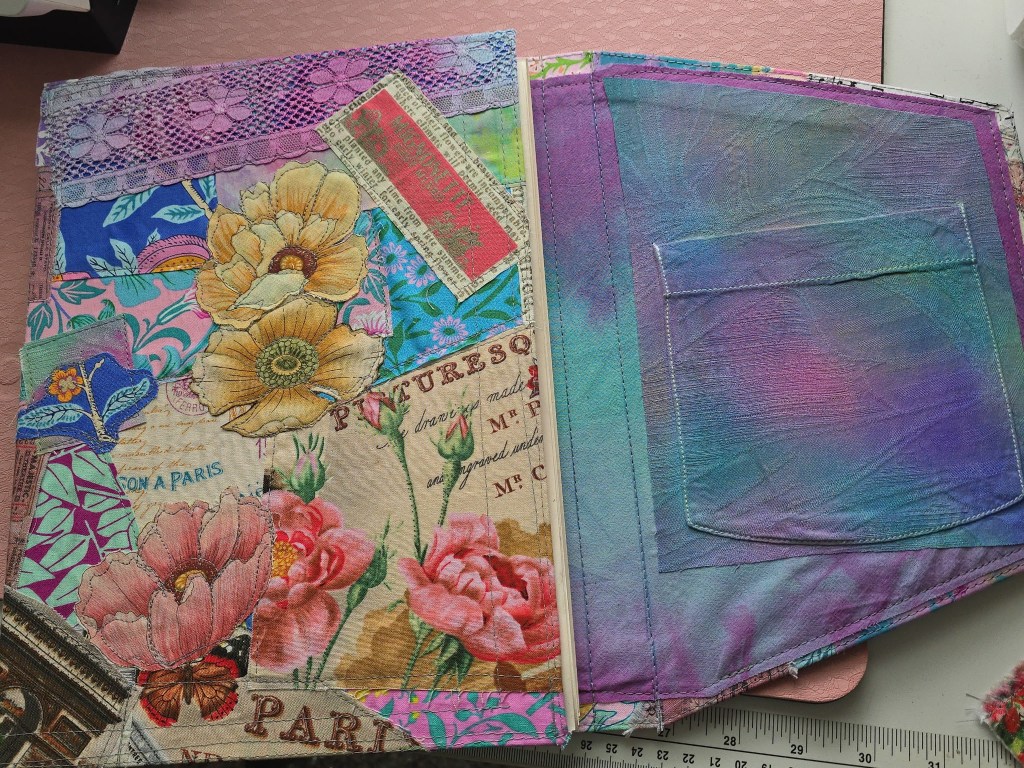
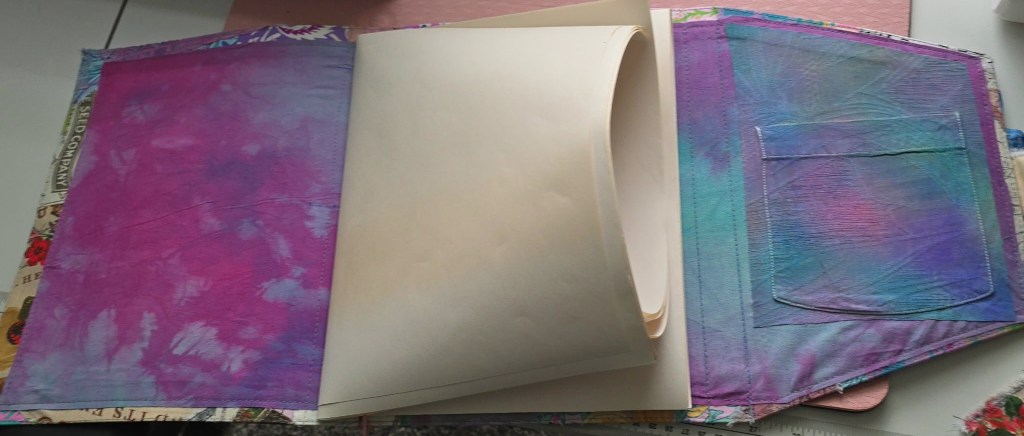
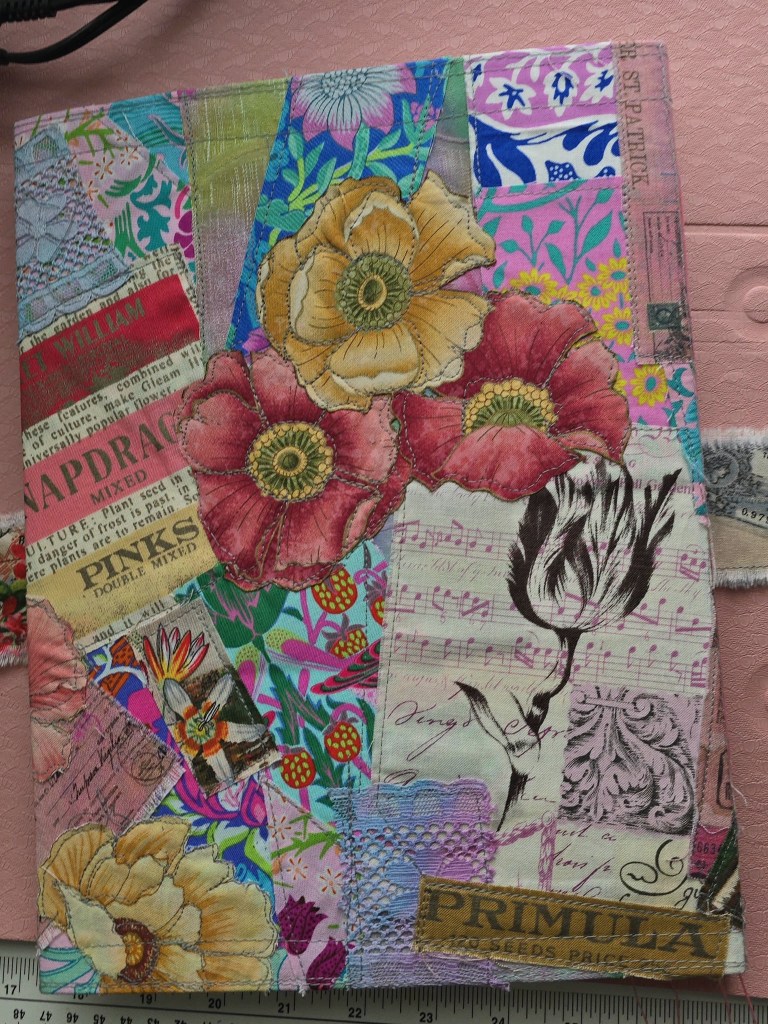
Are you ready to rescue those scraps from your craft bin? Fire up your sewing machine, heat up a cup of tea, and let’s get messy.
What pieces of scrap fabric or sentimental paper are you going to include in your journal cover? Let me know in the comments below!


Leave a Reply